


Drafting film is a bit of a funny old surface. The first time you try it, you might think, “Ooo this is smooth… lovely!” and then five minutes later, “Why won’t this behave like my normal paper?” 😅
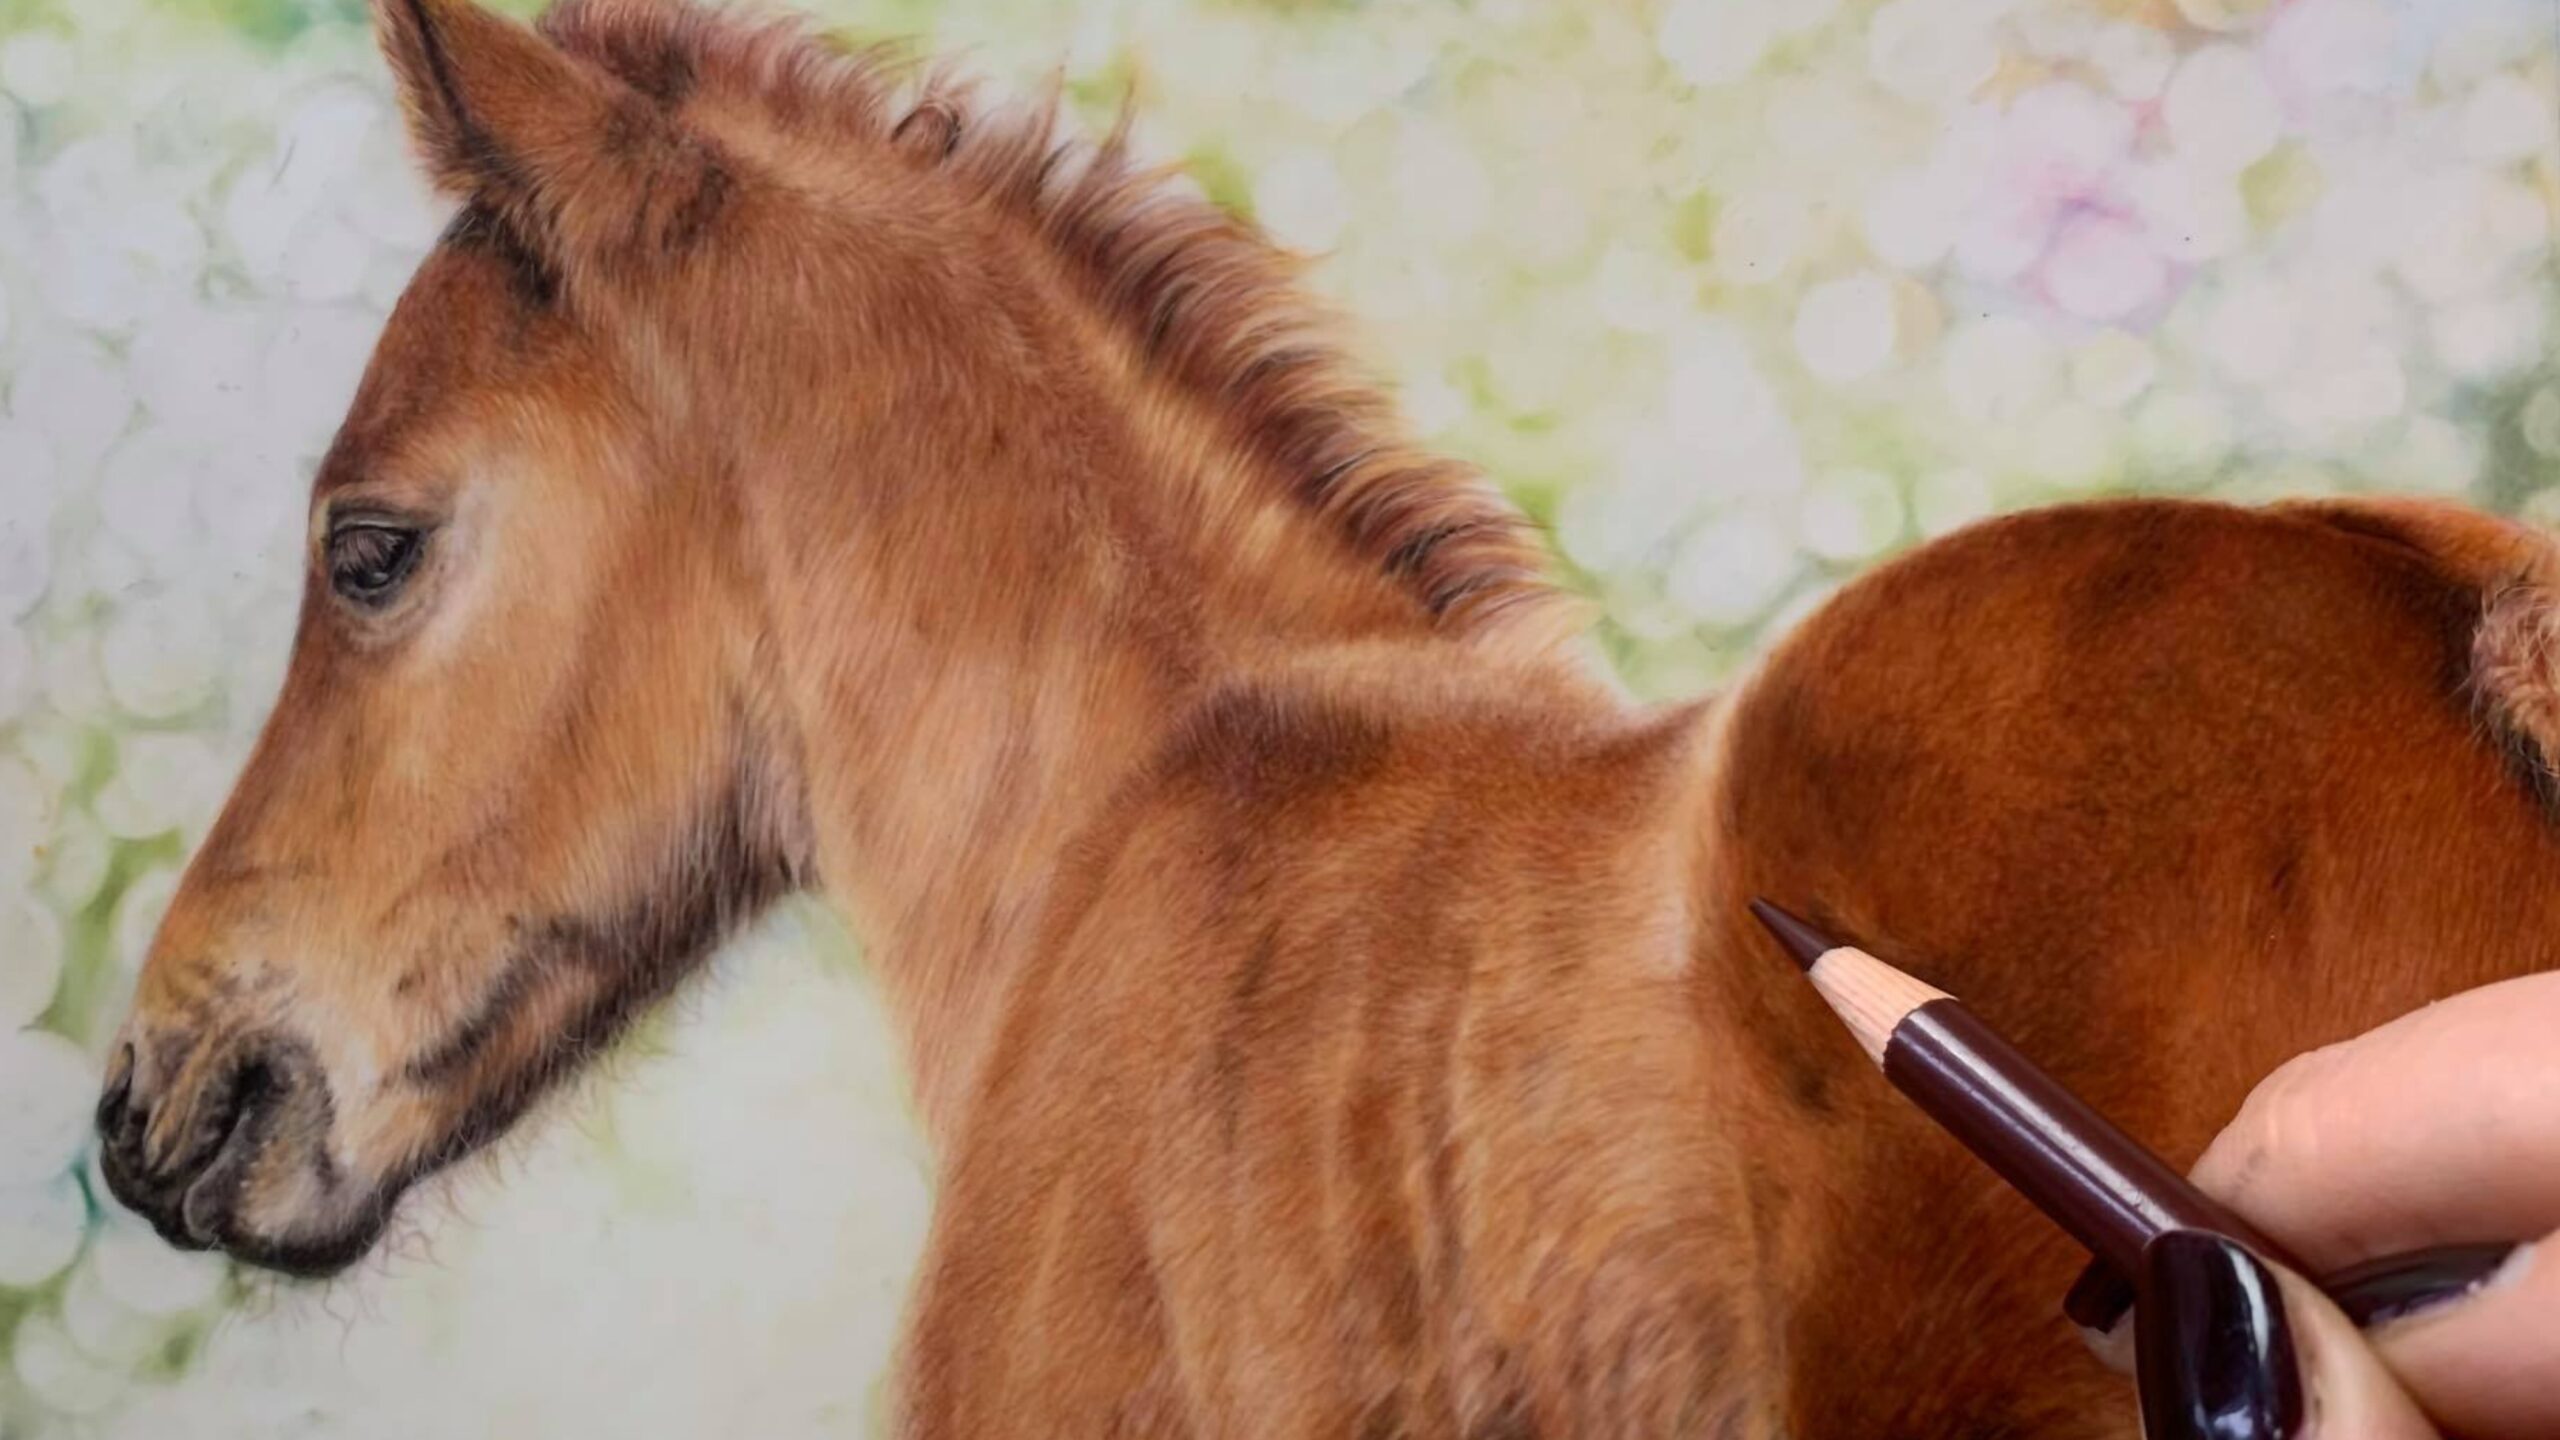
It’s brilliant but only if you understand how it wants to be used. So let’s keep this simple and practical. These are the generic principles I come back to every single time I work on drafting film.
1. Get Your Darks in Early
Drafting film is smooth. There’s very little tooth. That means you don’t have endless layers to play with.
So instead of creeping in gently with light layers, I recommend:
- Establishing your darkest darks early
- Being brave with contrast
- Thinking about values before detail
This is especially important if you’re drawing fur or feathers. The depth underneath is what allows those lifted highlights to actually show up later. And if you’re planning on adding whiskers, this step matters even more. If there isn’t enough pigment down first, your lifted whiskers simply won’t stand out.
On this surface especially, contrast creates drama. And drama is what makes it look realistic.
2. Think in Terms of “Subtraction,” Not Just Addition
Drafting film is perfect for what I call the subtraction technique. Instead of only adding colour, you:
- Lay colour down
- Then remove it to create texture, light and fine detail
This is where tools like a Tombow Mono eraser, electric eraser, or a Slice-style blade come into their own. But here’s the important bit: you must have enough pigment down first.
If you try to lift colour before there’s enough there, nothing much will happen.
This subtraction technique is particularly powerful for fur, feather shine, fine hair details and whiskers
3. Manage the Debris
When you scrape or erase on drafting film, you’ll get pigment dust. And if you leave it sitting there it will absolutely smudge somewhere you don’t want it.
A simple soft brush (even a clean makeup brush) is perfect for gently sweeping it away.
Small habit. Big difference.
4. Bring Details in Earlier Than You Would on Other Papers
Because you can’t pile on 30 layers like you might on Pastelmat, you need to think ahead.
On drafting film:
- Add structure early
- Follow fur or feather direction from the start
- Vary pressure and stroke length
- Introduce texture sooner rather than later
You can’t just block in flat colour and “fix it later.” This surface rewards intentional mark-making.
5. Direction Is Everything
Whatever you are drawing the direction of your strokes matters hugely.
On a smooth surface, the wrong direction shows immediately.
Ask yourself constantly:
- Which way does this grow?
- Is it curving?
- Is it soft, spiky, layered, overlapping?
Structure first, prettiness second. If the direction is right, the realism follows.
6. Keep an Eye on Your Pencil Pressure
Drafting film responds well to confident pressure, controlled marks and purposeful layering
But heavy pressure too early can limit what you can do later.
Think of it as:
- Medium to firm for establishing form
- Lighter for refining
- Deliberate when lifting colour
One of the loveliest things about drafting film is that it encourages experimentation.You can throw colour down more freely, lift it out, go back in, adjust and refine.
It doesn’t have to be hyper-detailed to be beautiful. Sometimes you can create something expressive and striking in a fraction of the time you’d spend on a heavily layered surface.
If you remember nothing else, remember this:
- Strong values first
- Texture comes from lifting
- Direction creates realism
Once you understand how drafting film behaves, it becomes such a powerful, flexible option in your toolkit.
If you’re trying it for the first time and thinking, “This looks awful…” – keep going. Honestly. It often turns a corner when you least expect it.
Comments +