


By Bonny Snowdon, coloured pencil artist and teacher. Updated September 18th, 2026.
Your eraser and your sharpener are two of the tools you’ll use again and again in coloured pencil drawing. A bad eraser will damage your paper, and a bad sharpener will snap your pencils.
I’ve been drawing and teaching with coloured pencils for over ten years. In all that time, the best eraser I’ve used is the Faber-Castell Kneadable Eraser. I replace mine every three to four months, and I have them on subscription from Amazon because my dogs keep stealing them!
I should say, though, I don’t really use erasers to rub out mistakes. I use them as drawing tools, for soft highlights, texture and lifting pigment where I need it lighter. Rubbing out can damage your paper and leave grubby marks, and unless the form of your drawing has gone really wrong, it’s much easier to work with what you have.
The best erasers for coloured pencil drawing
Choosing the best eraser for coloured pencil drawing can feel a bit overwhelming. There are so many out there, and they all claim to do different things. I keep four erasers in my pencil case, and I’ve been using the same four for years now.
I’ll go through each one properly below, but first, a quick look at what they are and what I use them for.
| Eraser | What it does | Who it’s for |
|---|---|---|
| Faber-Castell Kneadable Eraser | Lifts pigment, adds highlights, creates texture | Everyone. If you only buy one eraser, make it this one! |
| Tombow Mono 2.3mm | Erases fine detail with precision | Anyone working on drafting film or wanting very precise control. |
| Scotch Magic Tape | Lifts pigment cleanly for soft highlights and texture | Lovely on Pastelmat. Test it on other papers first. |
| The Slice Tool | Scrapes pigment off for sharp hairlines | For when you’re comfortable with your pencils and ready to try something new. |
If you’re just getting started with coloured pencils, a kneadable eraser is all you need.
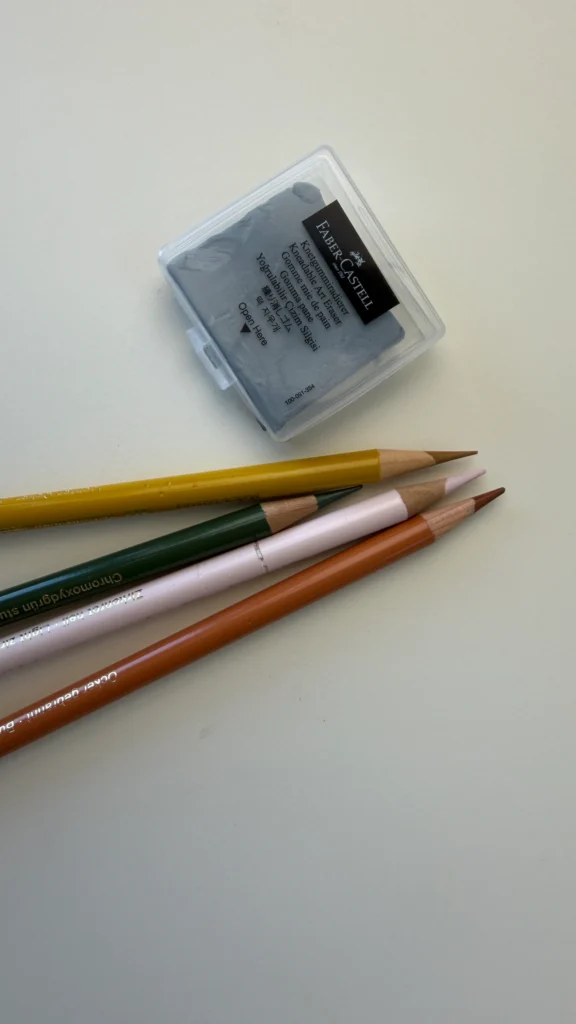
Faber-Castell Kneadable Eraser
This is my absolute favourite eraser, and my most used tool. It’s soft, it’s kneadable, and it lifts pigment off the paper beautifully. I wouldn’t be without mine!
I use it for soft highlights, for building texture, and for dabbing out pigment and smudges. You can knead it into a tiny point for small areas, or press it into a flat edge for lifting a piece of hair.
To clean it, you just knead it into itself and the pigment disappears. I find it works best with my harder, drier pencils like Faber-Castell Polychromos and Caran d’Ache Pablos, because the pigment lifts off really cleanly. It’s great for lifting out bits of graphite too, if you’ve done your outline in graphite.
I’ve even been known to wrap a bit of the kneadable eraser around the top of a paper stump and use it on drafting film to create little circles for bokeh backgrounds! And if you get a bit bored, it’s also really fab for making little animals, because it’s like play dough in consistency.
If you’d like to see everything else in my pencil case, my full materials page has the lot.
Buy the Faber-Castell Kneadable Eraser on Amazon →
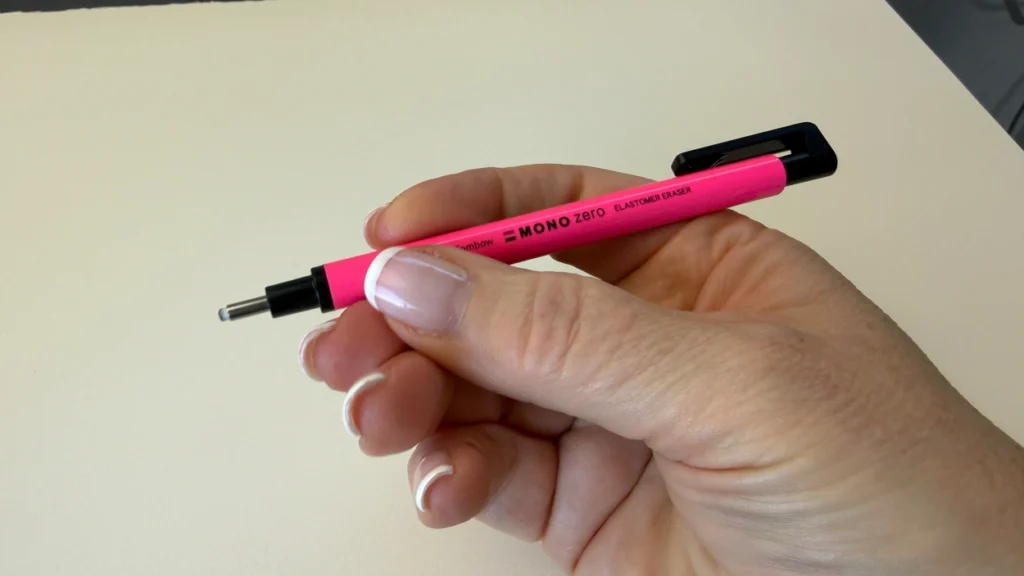
Tombow Mono 2.3mm Eraser
The Tombow Mono is the eraser I use for fine detail in my coloured pencil drawings. My kneadable eraser covers everything from highlights to texture to lifting pigment, but for tiny areas where it would be too soft, the Tombow is perfect. It’s like a retractable pencil, with the eraser living inside the plastic body. You just click the end to get more eraser to appear.
I use it mostly on drafting film. It’s wonderful for small, precise work.
I use something I call the subtraction technique. You add your pigment first, then subtract it with the Tombow to create hairlines, soft highlights and fine texture. It’s brilliant for things like individual strands of fur and tiny eye reflections.
I tend to cut off the end of mine to leave a good sharp flat edge, or you can cut it diagonally to create more of a point. You can buy refill erasers for it, so you don’t have to keep buying a new one every time it’s worn out.
Clean the end regularly on your jeans, a clean piece of paper, or a small sheet of sandpaper. It picks up pigment dust and you’ll end up putting marks back onto your drawing rather than taking them off.
Buy the Tombow Mono 2.3mm on Amazon →
Scotch Magic Tape
Scotch Magic tape is one of my favourite tools for coloured pencil drawing, and I use it in a very similar way to my kneadable eraser and my Tombow. It’s amazing for creating texture, soft highlights and lifting pigment. You hold a piece gently to your surface, then use a pencil to take out the mark you want. There’s a little more to it than that, and my videos will help you see how it works.
You can also use an eraser shield with it. Place the tape over the shield and then you have the small holes to remove pigment through, which is great for things like grass and small textured objects. And it’s wonderful for getting stubborn marks off your paper when nothing else will shift them.
Please do test it thoroughly before using it on your drawing, because some papers will tear under the tape and you really don’t want to find that out halfway through a piece you’ve spent hours on. I use it all the time on Pastelmat and it works beautifully, but on other surfaces it can lift the paper itself, and that’s not something you can fix.
Buy Scotch Magic Tape on Amazon →
The Slice Tool
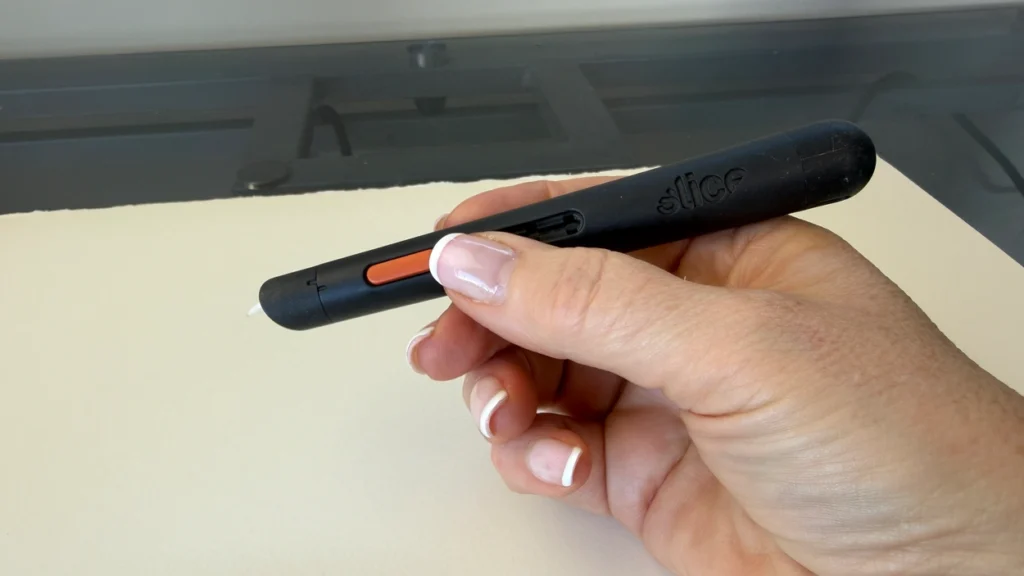
The Slice tool removes pigment in a completely different way to a kneadable eraser or a Tombow. Instead of lifting it softly, it scrapes it off the surface, which makes it brilliant for creating fine highlights and texture in coloured pencil drawings.
I use the Slice manual pen cutter, the thick round one with the chisel shaped blade. The blade is made from ceramic, which means it’s safer than a metal craft knife and it lasts a long time.
It comes in all kinds of styles, but you want the one that fits the thicker chisel shaped blade. The trick with using it is not to cut, but to scrape, gently. I hold mine like a pencil, upside down, and use the edge of the blade rather than the tip. It takes some getting used to, but once you’ve found your technique it’s brilliant for hairlines, fine textures, stitching in material and leather.
One thing to be careful about is going a bit over the top with the Slice. Don’t let it take over what your pencils are doing. Use it sparingly and you’ll get gorgeous soft fur. Use it too much and your fur will look scratchy and too sharp. I’ve written more about how to use a Slice tool in coloured pencil drawings if you’d like to see it in action!
Buy the Slice Tool on Amazon →
The best sharpeners for coloured pencils
If you’ve ever put a coloured pencil into a sharpener and had the lead snap straight away, you’ll know how frustrating it is. I went through a lot of bad sharpeners before I found three that I was happy with. I use a small manual sharpener, an electric sharpener and a hand crank, and I haven’t changed any of them since.
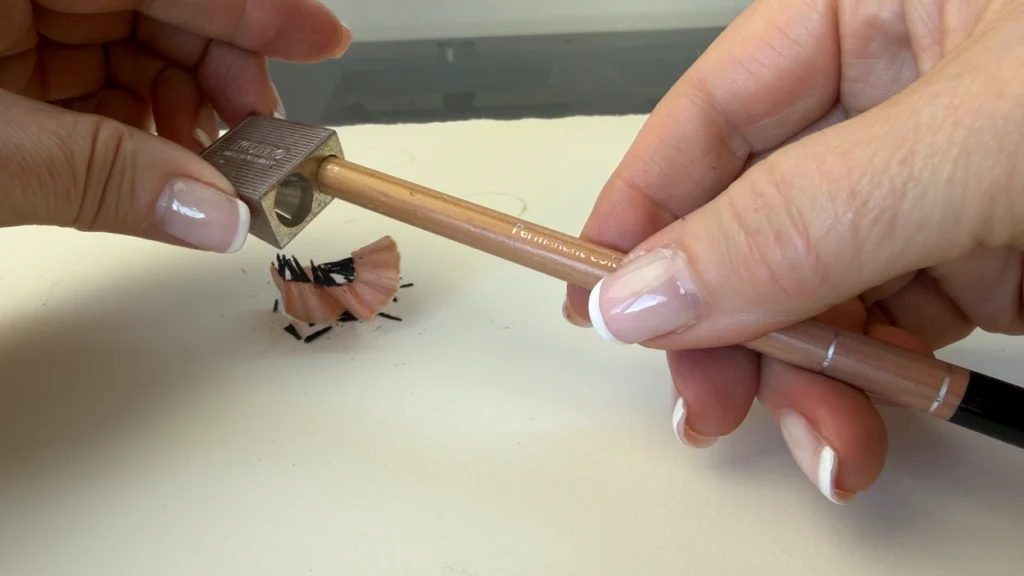
Kum Magnesium Sharpener
The Kum Magnesium looks like the little metal sharpeners you had at school. It has two holes, and it’s really easy to use.
I use this one for any coloured pencils that break easily, because the point it creates is quite short, which keeps the lead from snapping. If you like a longer point, this sharpener might not be for you. But for a couple of pounds, you really can’t go wrong!
Buy the Kum Magnesium Sharpener on Amazon →
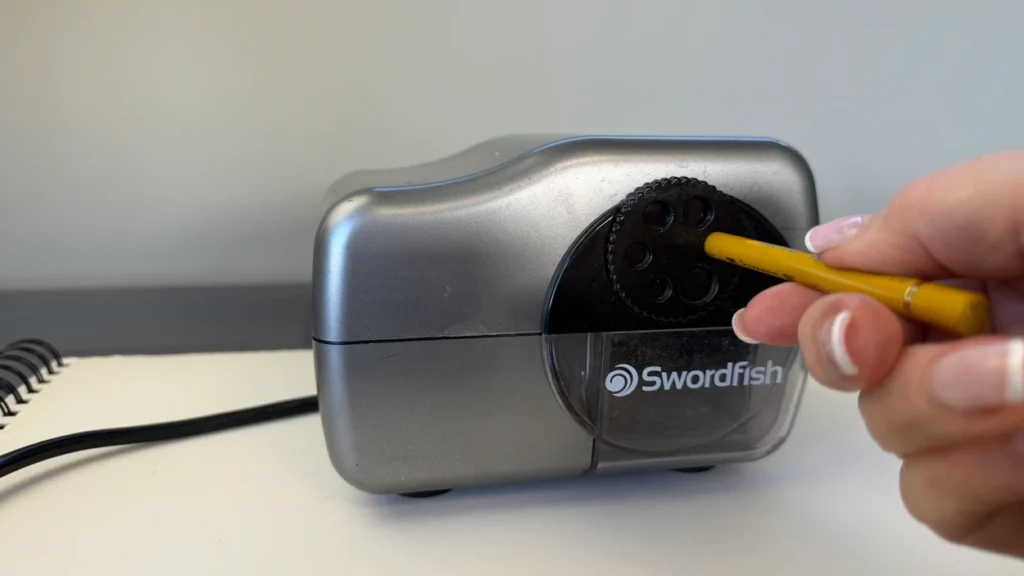
Swordfish Multipoint Sharpener
The Swordfish Multipoint is an electric sharpener, and I love it. It has different sized holes for different coloured pencils, you just pop your pencil in, take it out and it’s sharp. It shaves rather than taking off those little circles like the Kum Magnesium does.
It is quite big and it does need plugging in, and you do need room for it on your desk. There’s a little container built in that catches all your shavings. If you’re doing a lot of coloured pencil work in one sitting, it’s a real time saver.
Buy the Swordfish Multipoint Sharpener on Amazon →
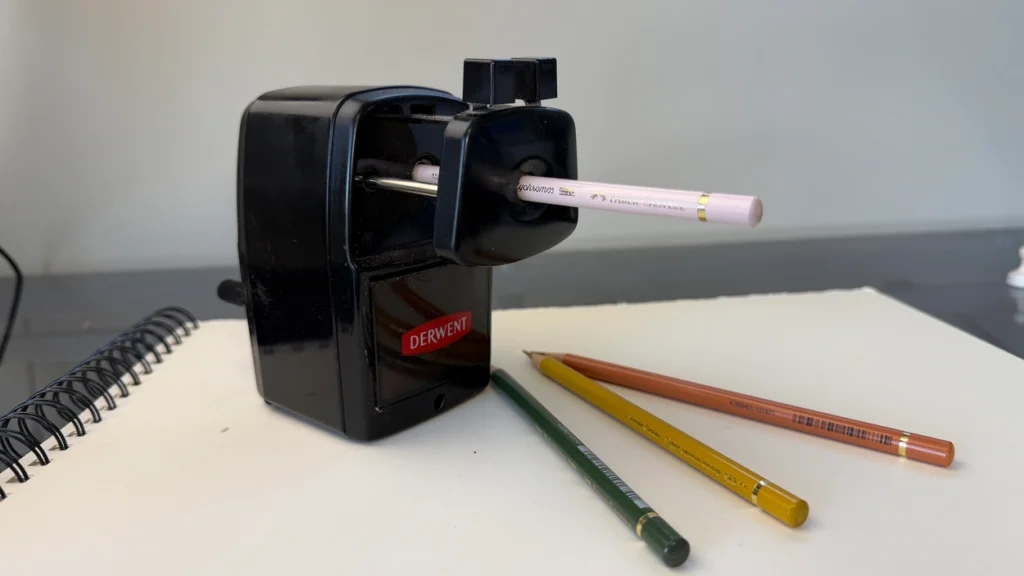
Derwent Superpoint
The Derwent Superpoint is a hand crank sharpener that creates a really long, even point. You pop your pencil in, turn the crank, and it’s done. I use this one more than the other two, especially when I’m working on fur, whiskers or anything where I need a fine, precise line.
For coloured pencil drawing on Pastelmat, which eats through points quickly, having a sharpener that gives you a long point means you’re not stopping every five minutes to sharpen again.
The grip does leave little tooth marks on the pencil. They don’t affect the drawing at all, but if that would bother you, Swordfish make a hand crank called the Curve which has a padded grip and doesn’t leave the marks. The point isn’t quite as good as the Derwent’s, though, and for me the point wins.
Buy the Derwent Superpoint on Amazon →
Frequently asked questions about erasers for coloured pencils
The best eraser for coloured pencils is the Faber-Castell Kneadable Eraser. It’s soft, it lifts pigment cleanly, and it won’t damage your paper. I use mine in every single drawing for highlights, texture and lifting pigment, and I’ve been using the same brand for over ten years. Whether you’re sketching, shading or building detailed fur, it covers everything.
They do, but not in the way you might think. You won’t be able to erase coloured pencil back to pure white paper, no matter which eraser you use. Once the pigment is in the tooth of the paper, you can lighten it and lift a lot of it, but you won’t get a completely clean surface. I always find it easier to work my layers over and adjust things rather than try to rub something out completely.
Yes. A kneadable eraser works really well on coloured pencils, especially with harder, drier pencils like Faber-Castell Polychromos and Caran d’Ache Pablos. The pigment lifts off cleanly when you dab it onto the surface. For waxier pencils like Prismacolor, you’ll find it lifts less pigment, but it will still lighten the area.
Don’t rub. Rubbing damages the surface of your paper and leaves grubby marks. Instead, take a kneadable eraser, knead it into the shape you need, and dab it gently onto the area you want to lighten. Press and lift, press and lift. For smaller areas, a Tombow Mono 2.3mm gives you much more precision. For lifting larger areas of pigment, a piece of Scotch Magic tape held gently over the surface works beautifully.
For graphite sketching, a kneadable eraser is all you need. It lifts graphite even more easily than it lifts coloured pencil, and it won’t damage your paper the way a hard plastic eraser can. If you’re sketching an outline before adding coloured pencil on top, a kneadable eraser will clean up any stray graphite lines without disturbing the layers underneath.
It depends on the kind of point you want. For a short, sturdy point that stops your leads snapping, the Kum Magnesium is perfect and costs a couple of pounds. For speed, the Swordfish Multipoint is brilliant. And for a long, fine point for detailed work, the Derwent Superpoint is the one I use the most, especially on Pastelmat, which eats through points quickly.
Comments +