


Have you ever looked closely at a horse’s eye and wondered how on earth you’d recreate all those beautiful reflections, little creases and details with coloured pencils?
Horse’s eyes are actually some of the trickiest eyes to draw! There’s so much going on, from the delicate folds around the eye to those gorgeous reflections.
But here’s the thing. You don’t need to draw every tiny detail to create something realistic!
It’s much more about understanding your values, building up your layers and knowing where to put those lovely lights and darks.
So today, I thought I’d show you how I approach drawing a realistic horse’s eye with coloured pencils, step by step, with a few tips you can try in your own drawings too!
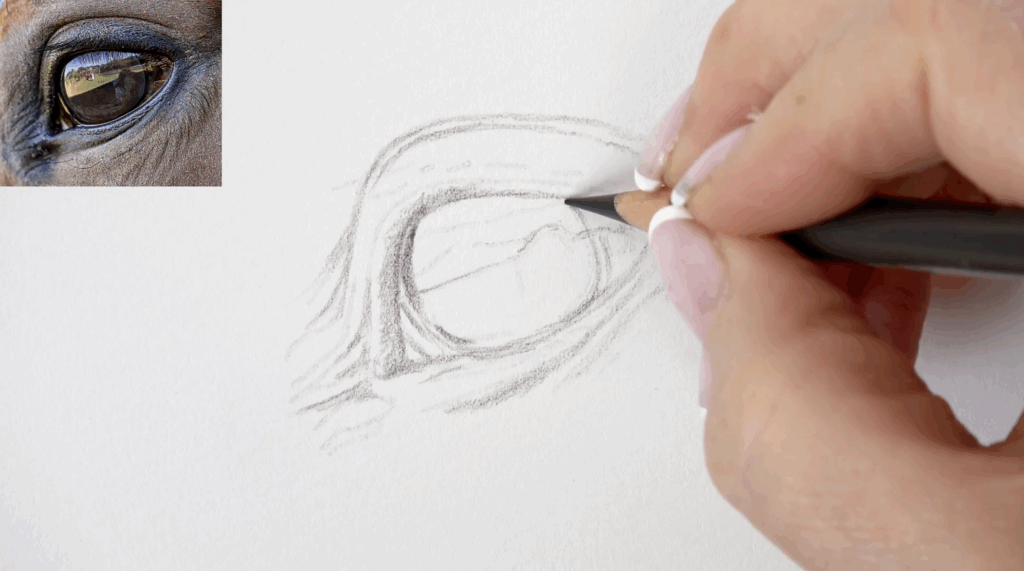
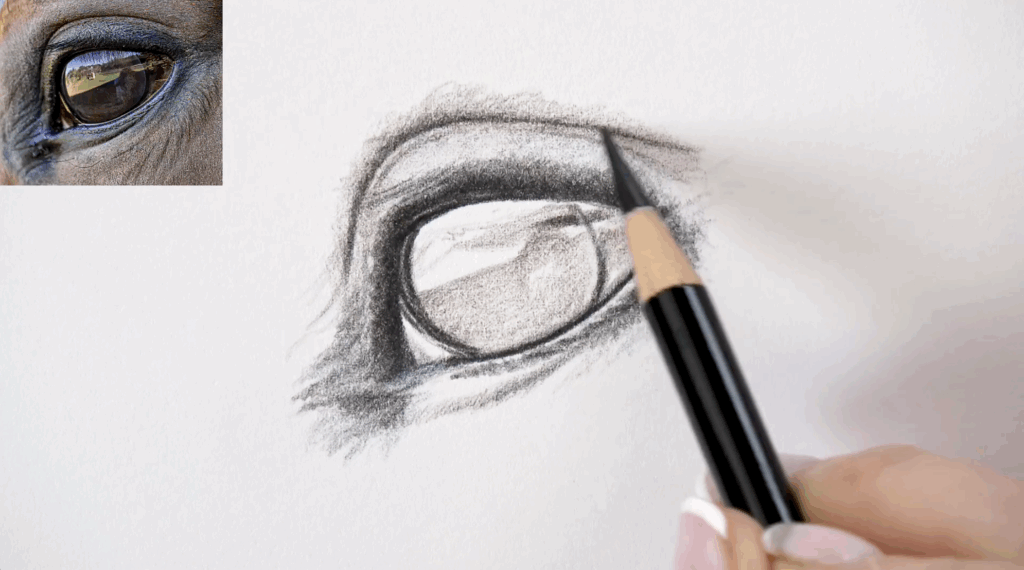
1.Sketch the Darkest Areas of the Horse’s Eye
I started with Dark Sepia (Polychromos 175), gently sketching in the darker areas around the eye.
Nothing too precise at this stage. I’m simply getting some colour onto the paper and starting to understand the shape.
I actually quite like keeping my pencil strokes a little sketchy. It creates softness and life in the drawing.
And don’t worry if you’re using line art. There’s absolutely nothing wrong with that! You still need to understand the form, values and textures to create something realistic.
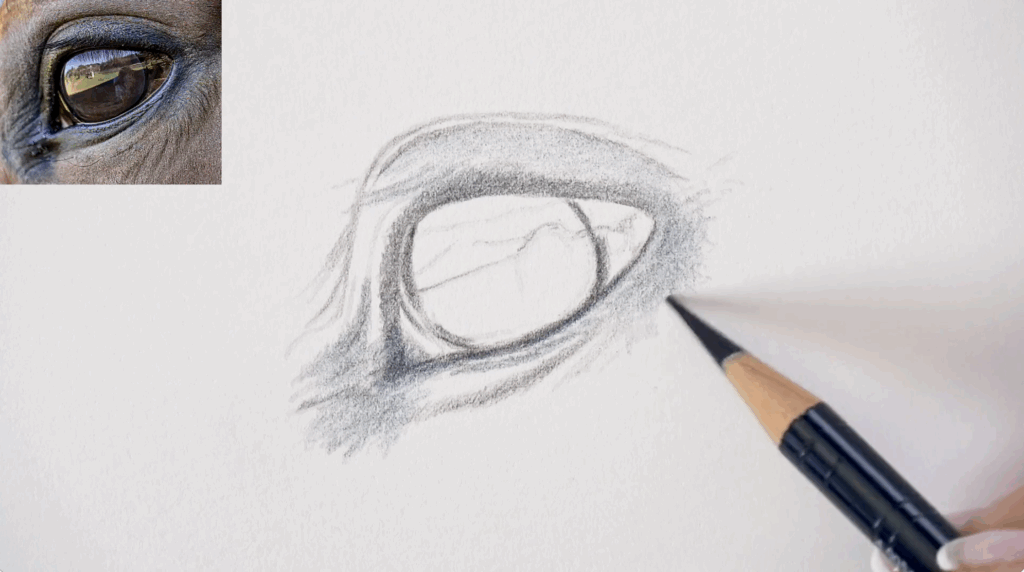
2. Build Tonal Values Around the Eye
Next, I brought in Dark Indigo (157) to build up the shadows and start creating depth.
Now, this is something I talk about ALL the time, but it’s so important.
Your values are what make your drawing look realistic, not your colours!
By values, I mean your lights, darks and all those lovely midtones in between.
In fact, understanding the three keys to realism can completely change how you approach your coloured pencil drawings.
Before worrying about finding the perfect colour, concentrate on getting those values right.
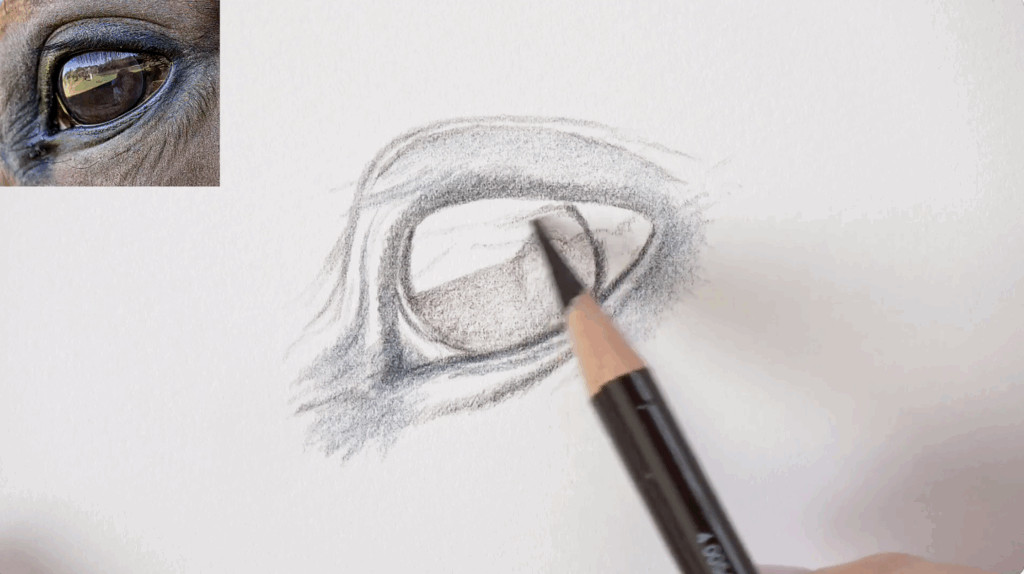
3. Layer Colours to Create Depth in the Iris
This is where things start getting interesting!
I used Walnut Brown alongside Dark Indigo to build up the colour within the eye.
You might be surprised how much blue I’ve used in what looks like a brown or black eye!
But that’s the beauty of coloured pencils. Layering different colours creates a richness you simply wouldn’t get from using one colour alone.
And remember, I’m still using lovely light pressure. We can always build up the depth as we go.
Learning how to create depth through coloured pencil layering is one of those things that can make such a difference to your drawings, whatever subject you’re working on.
4. Strengthen the Shadows with Black
Now look at the difference!
Once I’d established my initial layers, I went back in with Black to strengthen those darkest areas.
And suddenly, everything starts coming to life!
I often see people being a little frightened of using their darkest pencils, but those deep shadows are what make the highlights really stand out.
And because we’ve already got other colours underneath the black, it has a lovely richness rather than looking flat.
For the skin surrounding the eye, I used little circular strokes, cross-hatching and gentle shading to suggest the folds and texture.
It’s amazing what you can create just by changing how you move your pencil! Even something as simple as using little round-and-round pencil strokes can make a huge difference to the texture you’re creating.
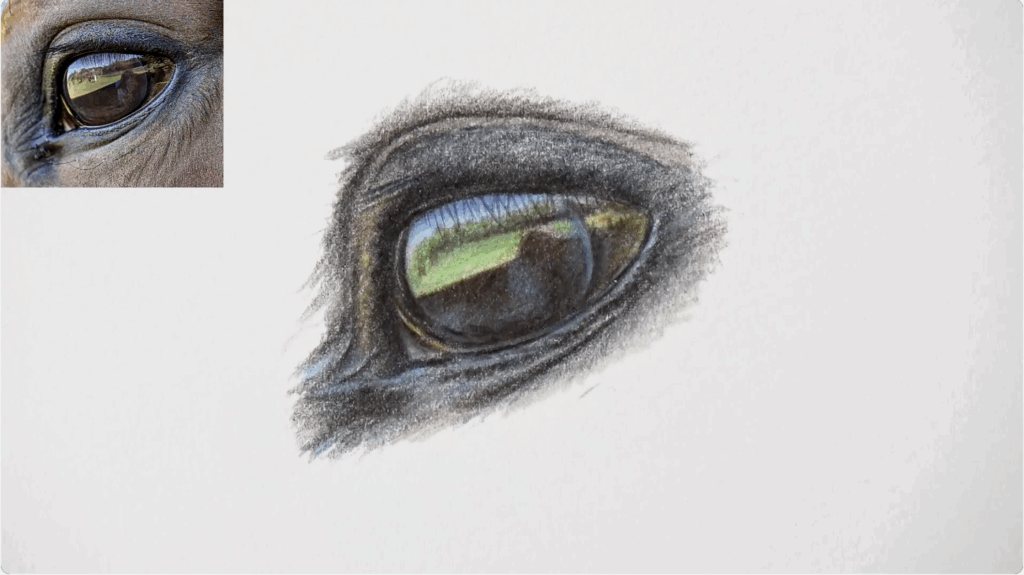
5. Finish with Highlights and Eyelashes
This is one of my favourite parts!
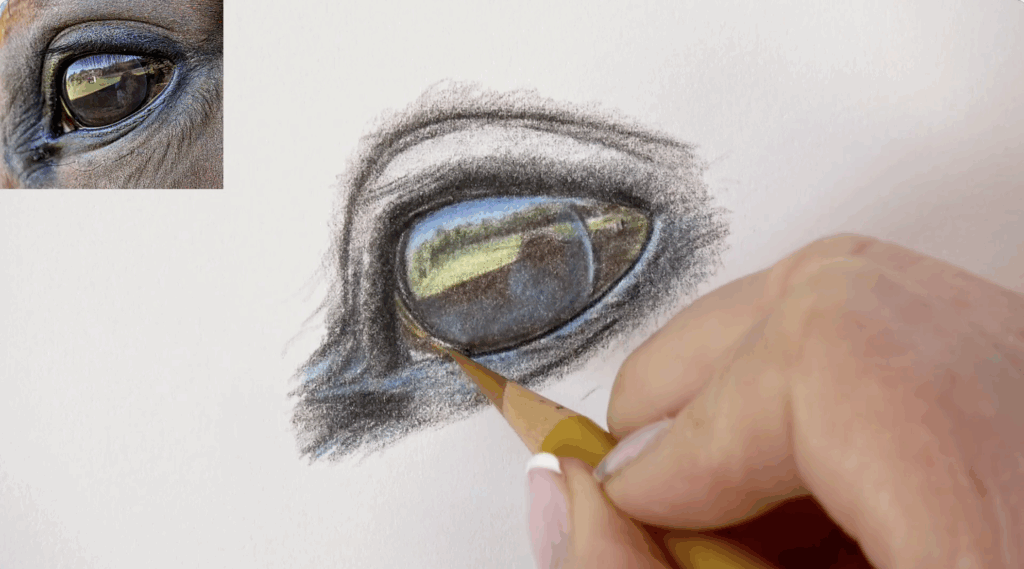
If you look closely at the reference photograph, there’s a whole little landscape reflected in the horse’s eye, with greens, blues and darker shapes.
Now, I could spend hours recreating every tiny tree and reflection, but do I need to? Absolutely not!
Instead, I used May Green, Chrome Oxide Green and a couple of blues to suggest those shapes.
Your brain is very clever at filling in the gaps, so you don’t always need to draw every last detail for something to look convincing.
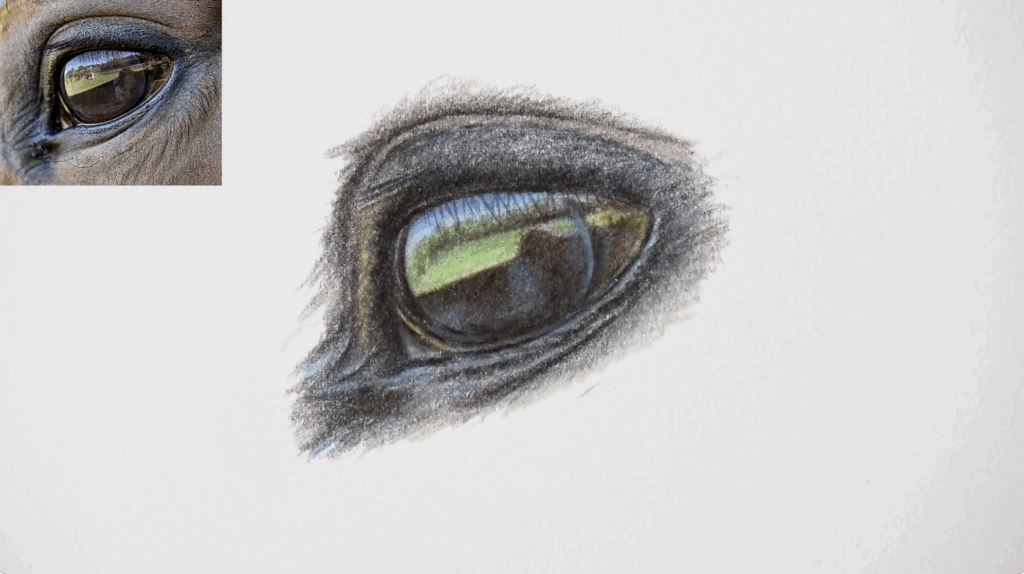
Finally, I went back over some of the darker areas, lifted a few highlights with my kneadable eraser and added those delicate eyelashes.
And there we have it!
A gorgeous horse’s eye, full of depth, texture and beautiful reflections.
And the best bit? We haven’t had to painstakingly recreate every tiny detail.
My Biggest Tip for Drawing Realistic Horse Eyes
If there’s one thing I’d love you to take away from this, it’s that realism comes from understanding what you’re looking at, not copying every tiny detail.
Pay attention to your values, experiment with layering different colours and don’t be frightened of loosening up those pencil strokes.
And remember, these same techniques apply to so many other subjects, whether you’re drawing a foal with coloured pencils or working on creating that gorgeous shine on a horse’s coat.
The more you practise, the more you’ll start to notice those subtle changes in light, shadow and colour.
And that’s when the magic really starts to happen! 🥰
Comments +